New Cake Tutorials
+ exclusive recipes for Yellow Cake with Lemon Curd and Raspberry Buttercream!


Cake Basics
There are FOUR new videos on my YouTube channel this week and it’s all about the basics of making a layer cake! I’ll walk you through trimming and slicing your layers, filling the cake with delicious buttercream and curd, how to do a crumb coat, and finally, decorating!
If you have my book, Zoë Bakes Cakes, you may have ventured through the Cake Academy chapter for my tips on building a layer cake. There are techniques I’ve learned that make the experience easier and more successful. I am such a visual learner, so I wanted to put all the information into action. I broke the process into four videos, so you can focus on the ones that relate best to your project.
Cake Basics Part 1: Trimming & Slicing
Trimming the top of a cake to level it or removing the sugary crust can make all the difference in how your final layered cake comes out. A flat top is key if you want a neat cake. If you are cutting a thick cake in half to fill it, you want to make sure all the layers are the same thickness.
Here are some of the tools I talk about in the video for trimming and slicing the layers:
Cake Turner - let it do some of the work for you and get a more even cut.
Super Slicer Knife - The long serrated blade is my favorite for cutting cake with the least amount of crumbs.
Round Cardboard Cake Circles - I always build my cakes on them for ease of mobility.
Cake Pans - these straight-sided pans mean less trimming and cutting. I used 8x3”.
Cake Basics Part 2: Filling
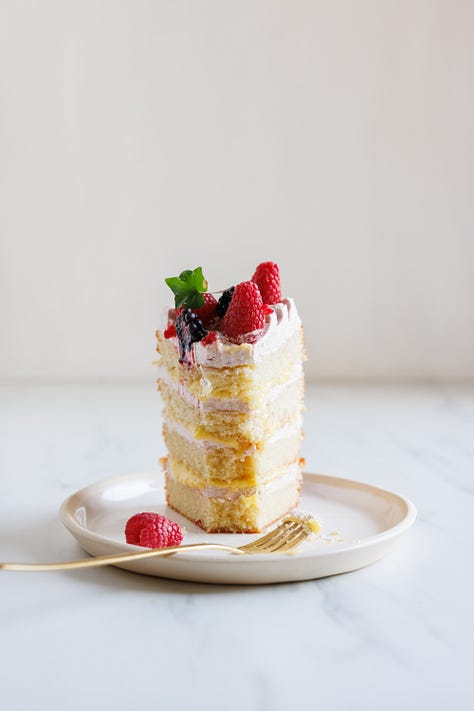
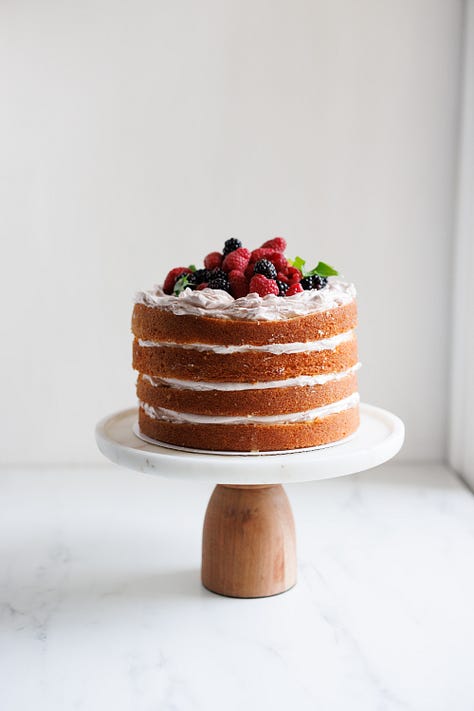
The filling is just as exciting as the cake itself. You can go with simple frosting, plus I will show you how to add a layer of lemon curd (or caramel, fruit filling, etc.) that is a bit too soft to hold up the weight of a cake layer on its own. Once it is filled you can stop and call it a naked cake or go on to crumb coat and decorate.
The tools you need for this step are:
Pastry bag and round tip - this is for adding the softer filling onto the cake without it moving around.
Cake Basics Part 3: Crumb Coat
Keeping the crumbs of the cake on the inside and away from the final layer of frosting can make all the difference in how beautiful your cake looks. This is a simple technique that will give you insurance that your finished cakes are tidy and crumb-free.
The tools you need for this step are:
Cake Turner - let it do some of the work for you and get a more even coat of buttercream.
Cake Basics Part 4: Decorating
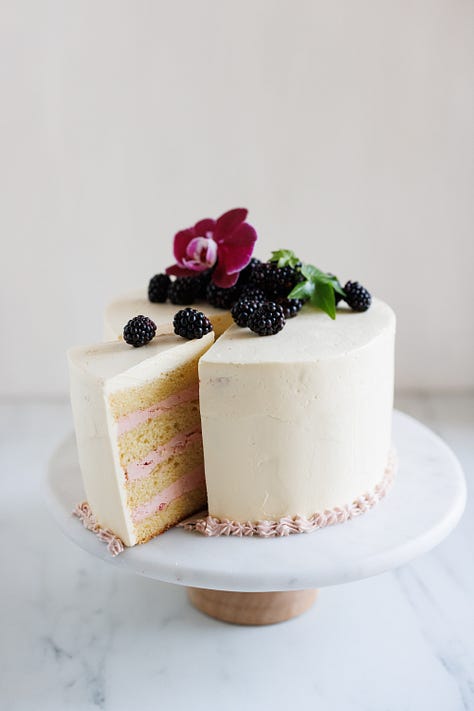
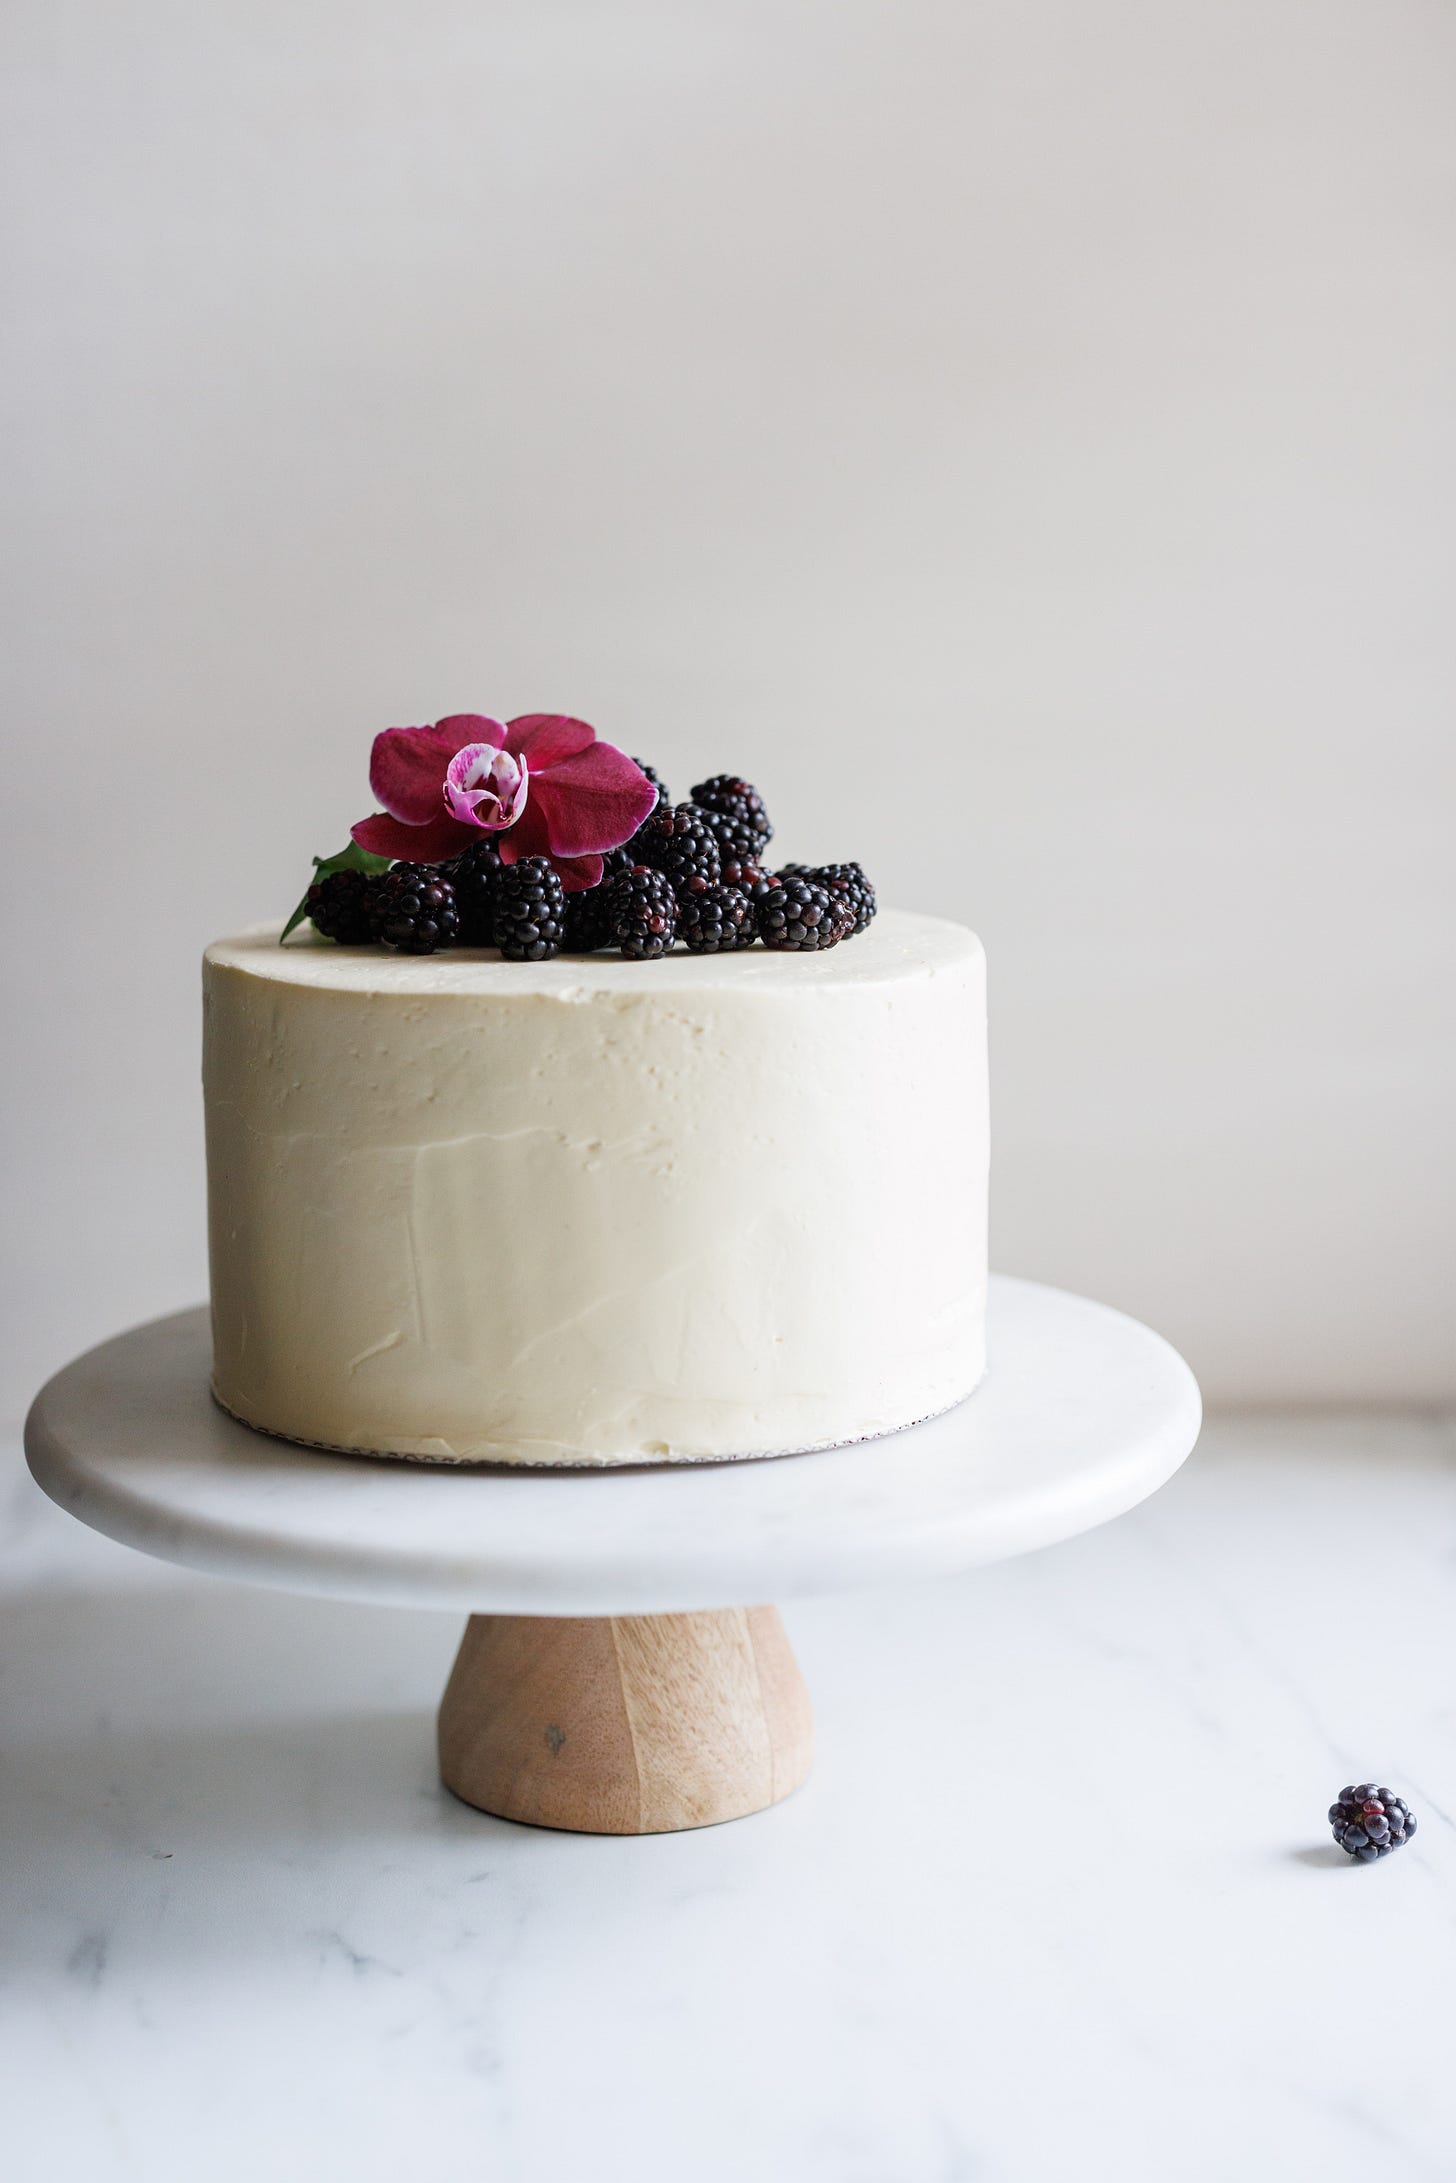
The final layer of buttercream or frosting is like the canvas for any decorations you will add. It should be as neat as possible and I will show you how to get there. This is a skill, like all others, that takes some practice, but I’ll give you some guidance and tips for success. It’s a delicious and fun adventure.
The tools you need for this step are:
Cake Turner - let it do some of the work for you and get a smoother finish.
Bench scraper or Cake Smoother - to help get an even, smooth finish on your frosting.
Below, my paid Substack subscribers will find all the recipes I use in this cake basics series. As a reminder, when you upgrade you’ll get access to my entire Substack archive, which includes my travel guides, cookbook recommendations, and dozens of exclusive recipes only available to this amazing community. I hope you’ll join us!


