Thank you to everyone who made my blueberry muffins last month, sent in your beautiful photos, and left a review on the recipe. I was blown away by your bakes! Congratulations to Dan Purdom who won the signed copy of Zoë Bakes Cakes and a linen apron. Now, on to this month’s challenge.
As a reminder, Zoë’s Baking Academy is a chance for us to try a recipe together, learn some tips and tricks, and share our beautiful bakes for all to see. Plus, there’s a prize!* This month we’re tackling sourdough bread (paid subscriber exclusive)! But fear not. If sourdough seems too daunting or you’re not a paid “Extras” subscriber, you can still participate with this alternative recipe: a simple, crusty bread, it’s made with commercial yeast and has a pillow-soft, uniform interior and thin, crispy crust.
Here’s how it works:
Before July 15 (you get two extra weeks in case you need to start from scratch on a sourdough starter), bake my Sourdough Bread (recipe for paid subscribers below) or my crusty bread recipe (free link below). I have a video of both bread methods for you to watch as you bake. Don’t forget to snap a photo and/or video of yours.
Show us your bake! Tag me (@zoebakes) in an in-feed post on Instagram or Facebook (it’s hard to track Stories and we may miss them) and use the hashtag #zoebakesacademy and/or #zoebakes. If you don’t use social media or your account is private, you can still participate! Send an email to stephani@zoebakes.com with a photo to let us know you’re in.
For an additional entry into the giveaway, rate and review the recipe on ZoëBakes.com. (Paid subscribers are automatically entered twice with their bread submissions).
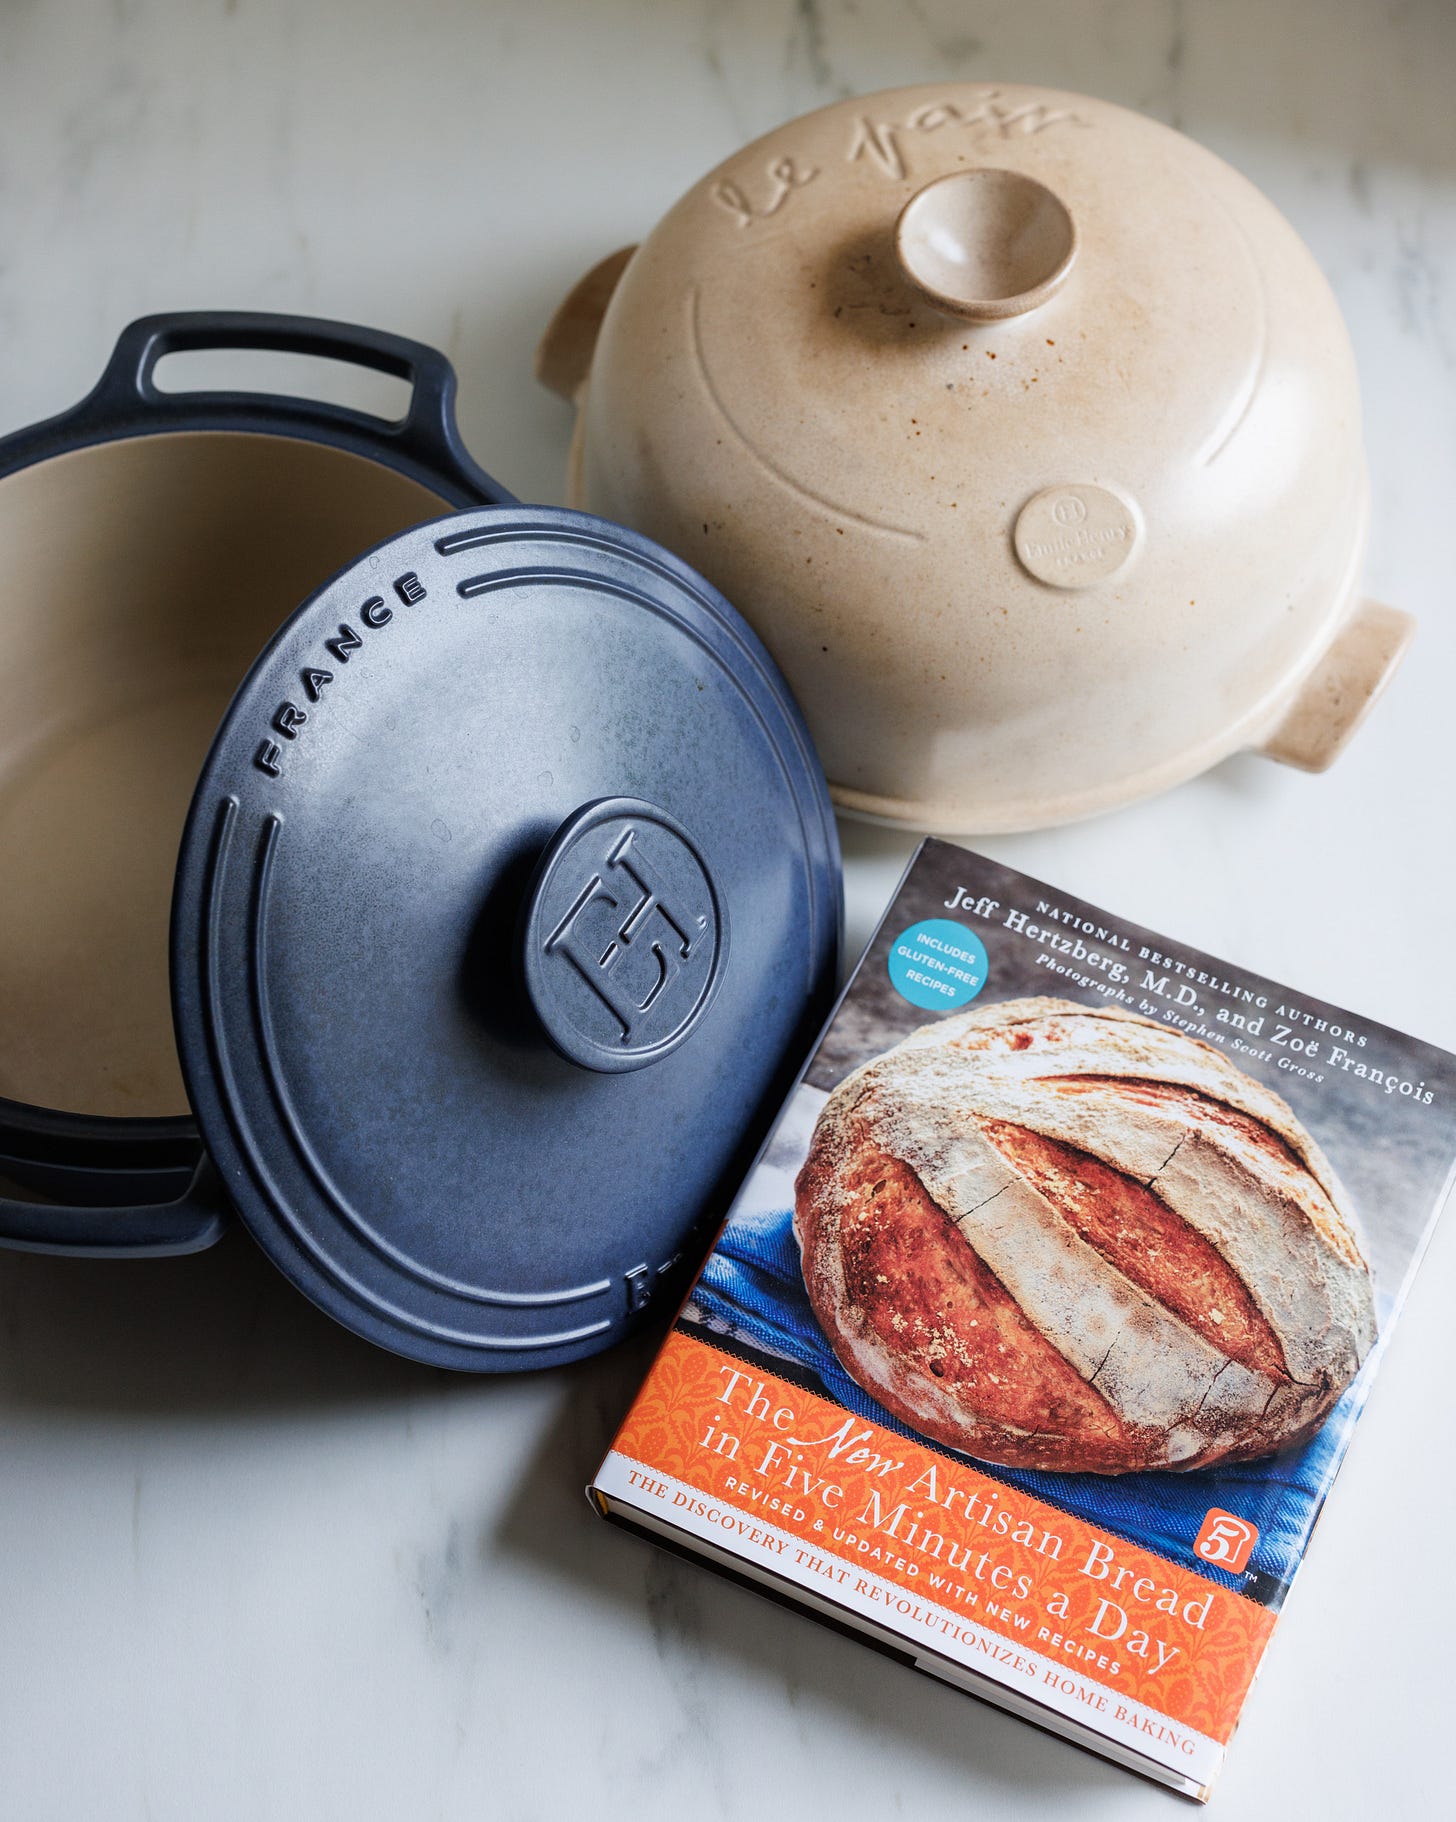
That’s it! We’ll draw a winner on July 16 and announce it that week on social media and in this email. Thanks to our sponsor, Emile Henry, we’ll have THREE lucky winners this month! Emile Henry is giving away a Sublime Dutch Oven + Bread Cloche to three people who participate and I’ll send the winners a signed copy of my book, Artisan Bread in Five Minutes a Day.
*I can ship to US addresses only. I hope someday to open this up to international followers as well.
Crusty Bread
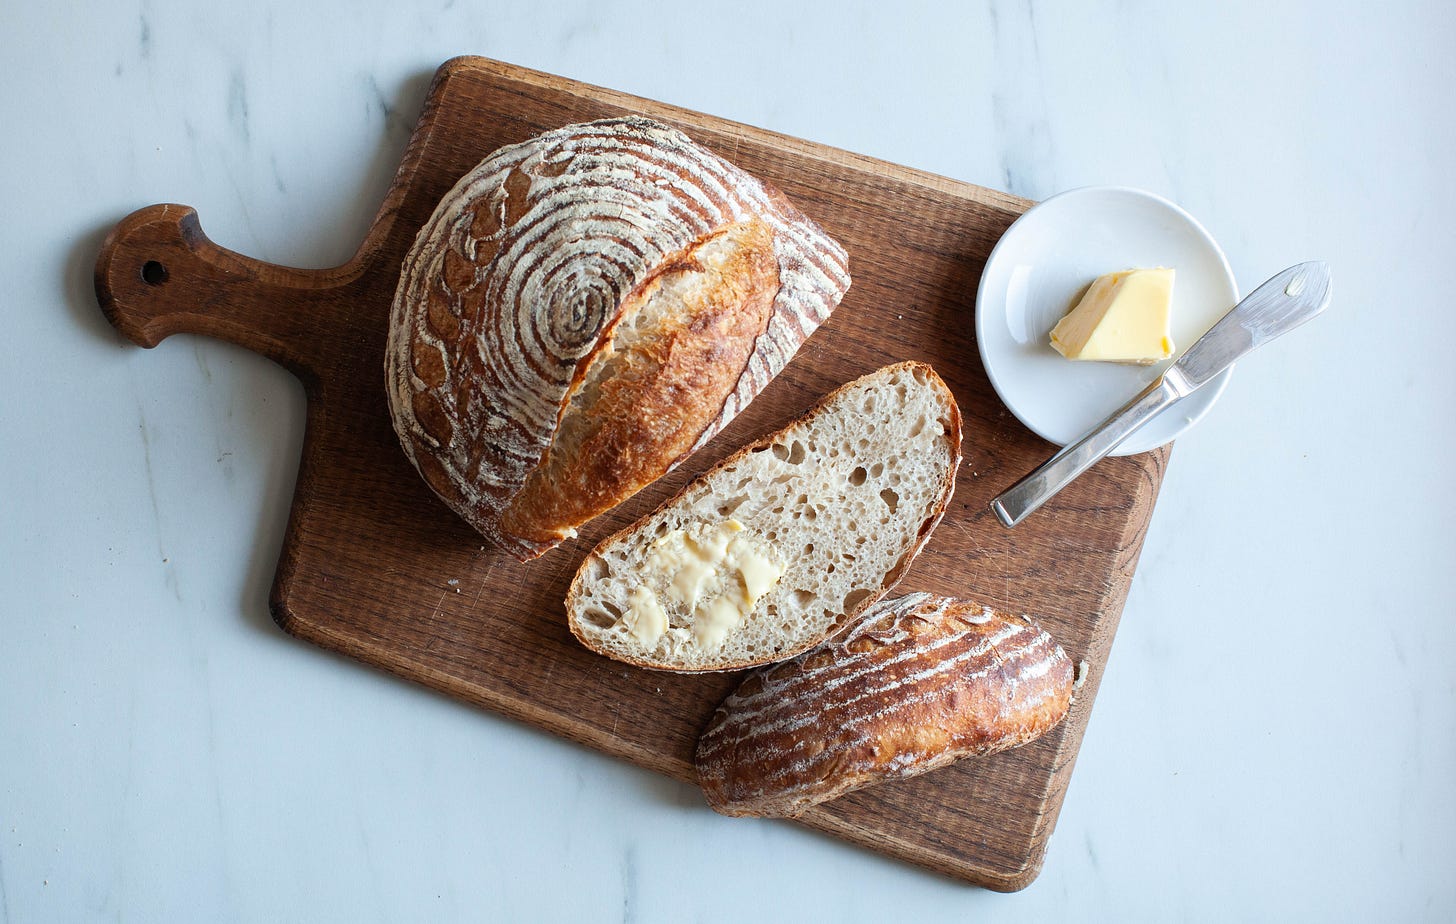
This Crusty Bread is very different from the sourdough loaf below. It has a uniform crumb, which makes it great for buttery toast and sandwiches. My family loves the soft interior of this loaf and the slight sweetness from the honey. The crust on this loaf is very thin and crisp, from baking it in the Dutch Oven. Because it is made with commercial yeast and not a sourdough starter it can be mixed and baked within 2 1/2 hours.
Sourdough Bread
The Sourdough Starter and Sourdough Bread recipes are at the bottom of this newsletter for “Extras” Subscribers.
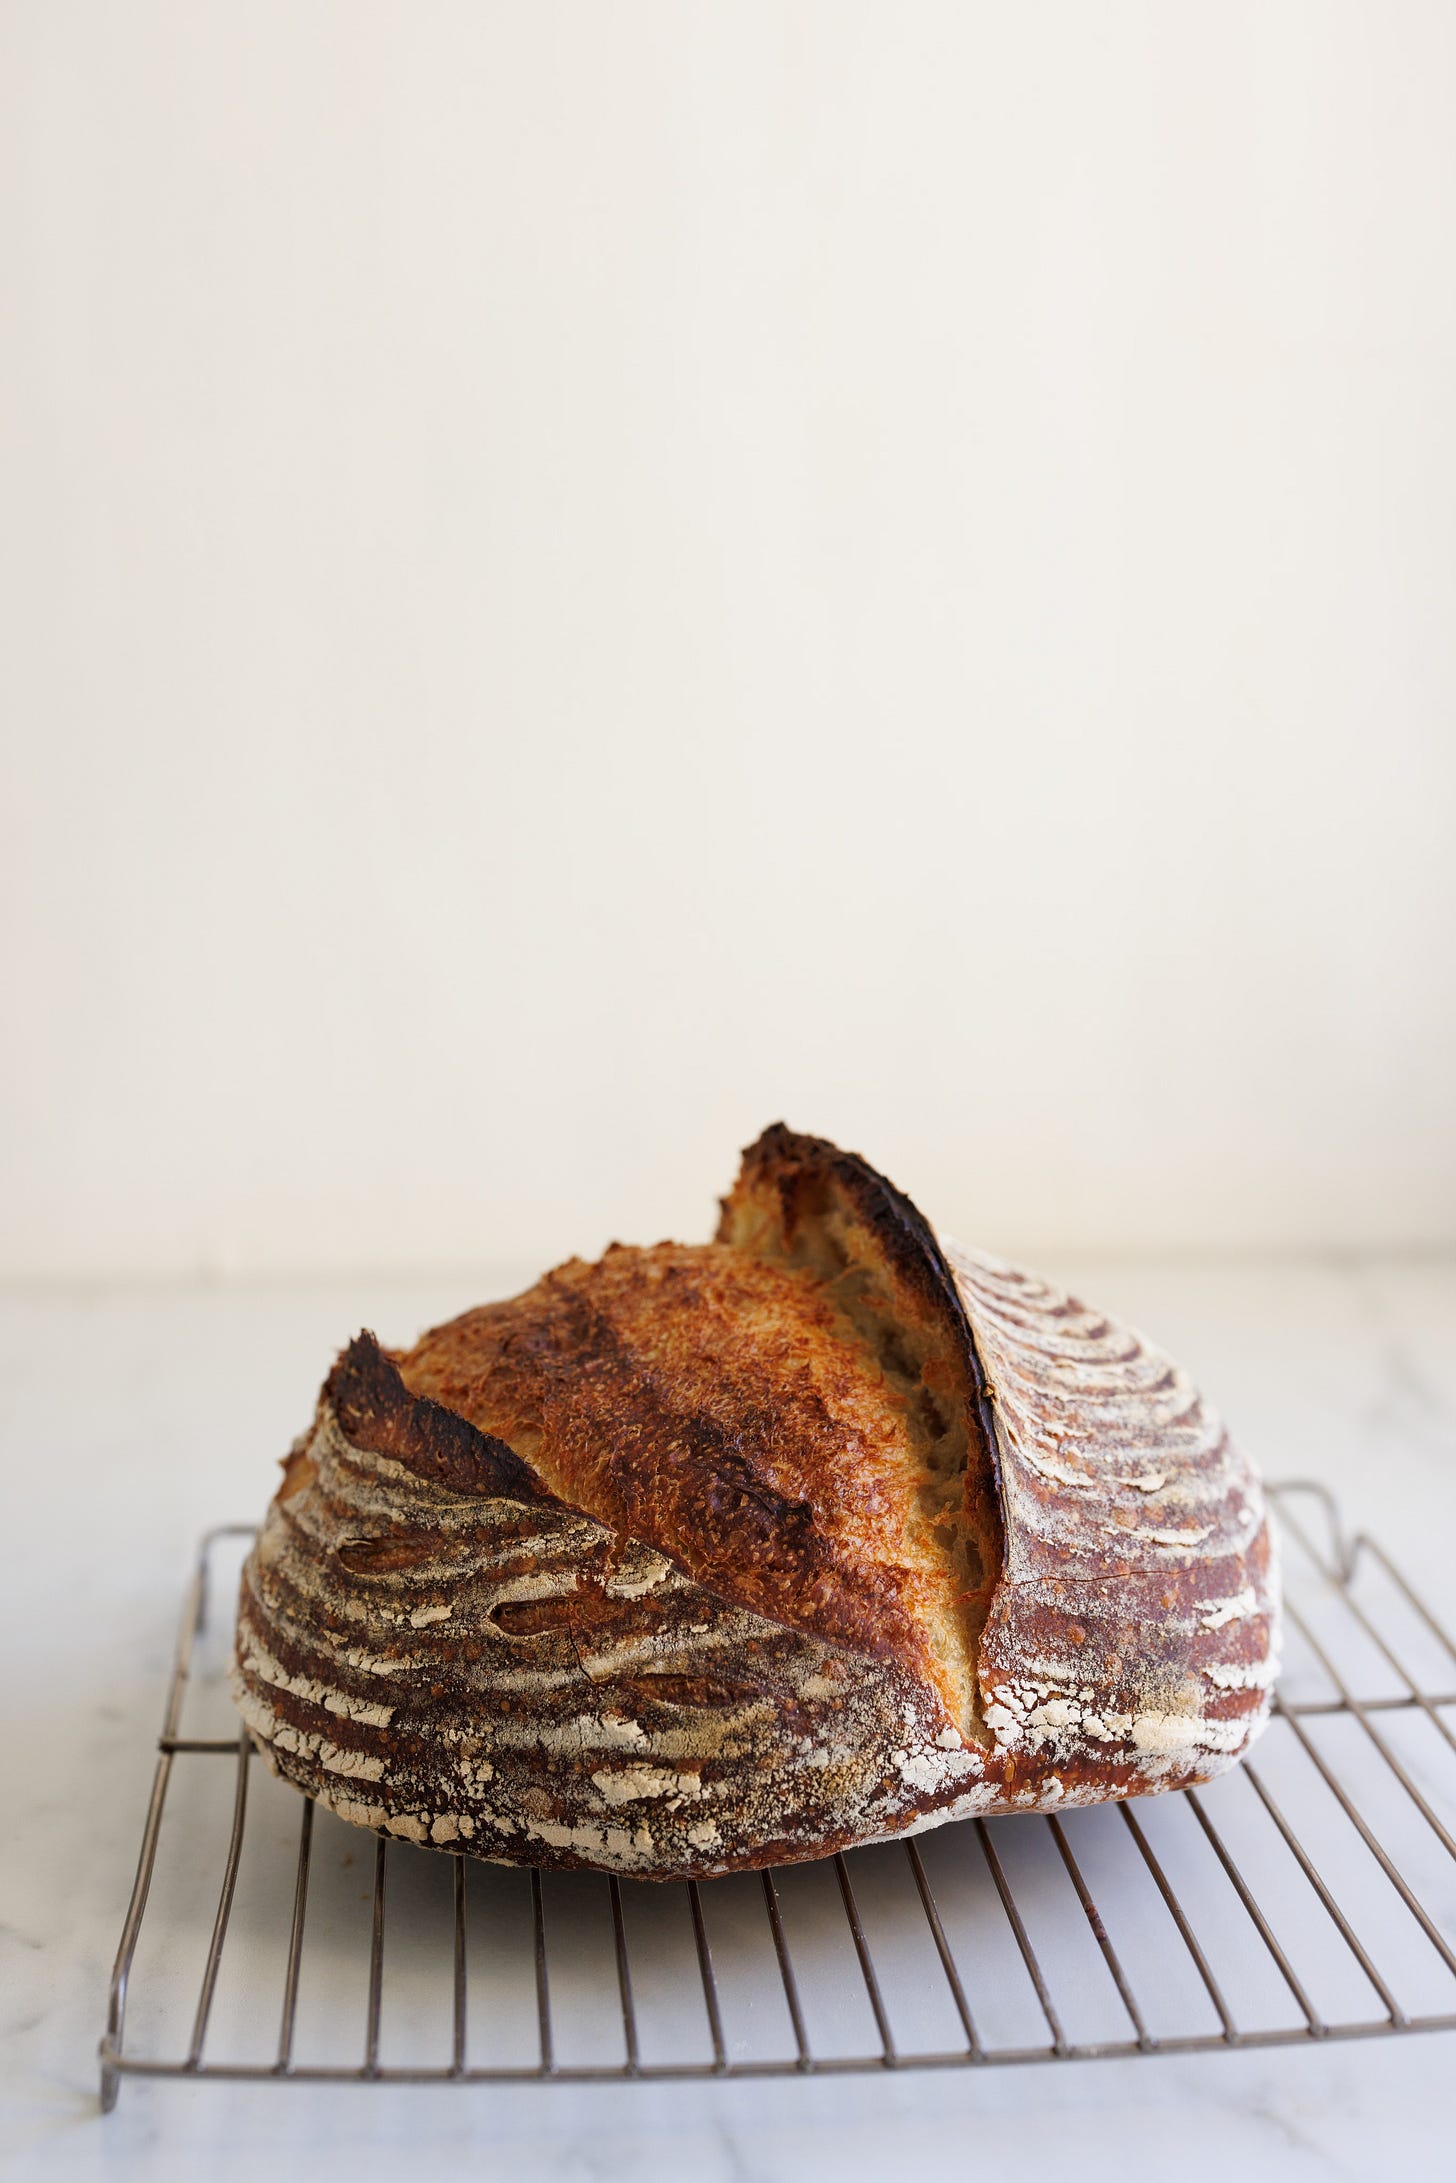
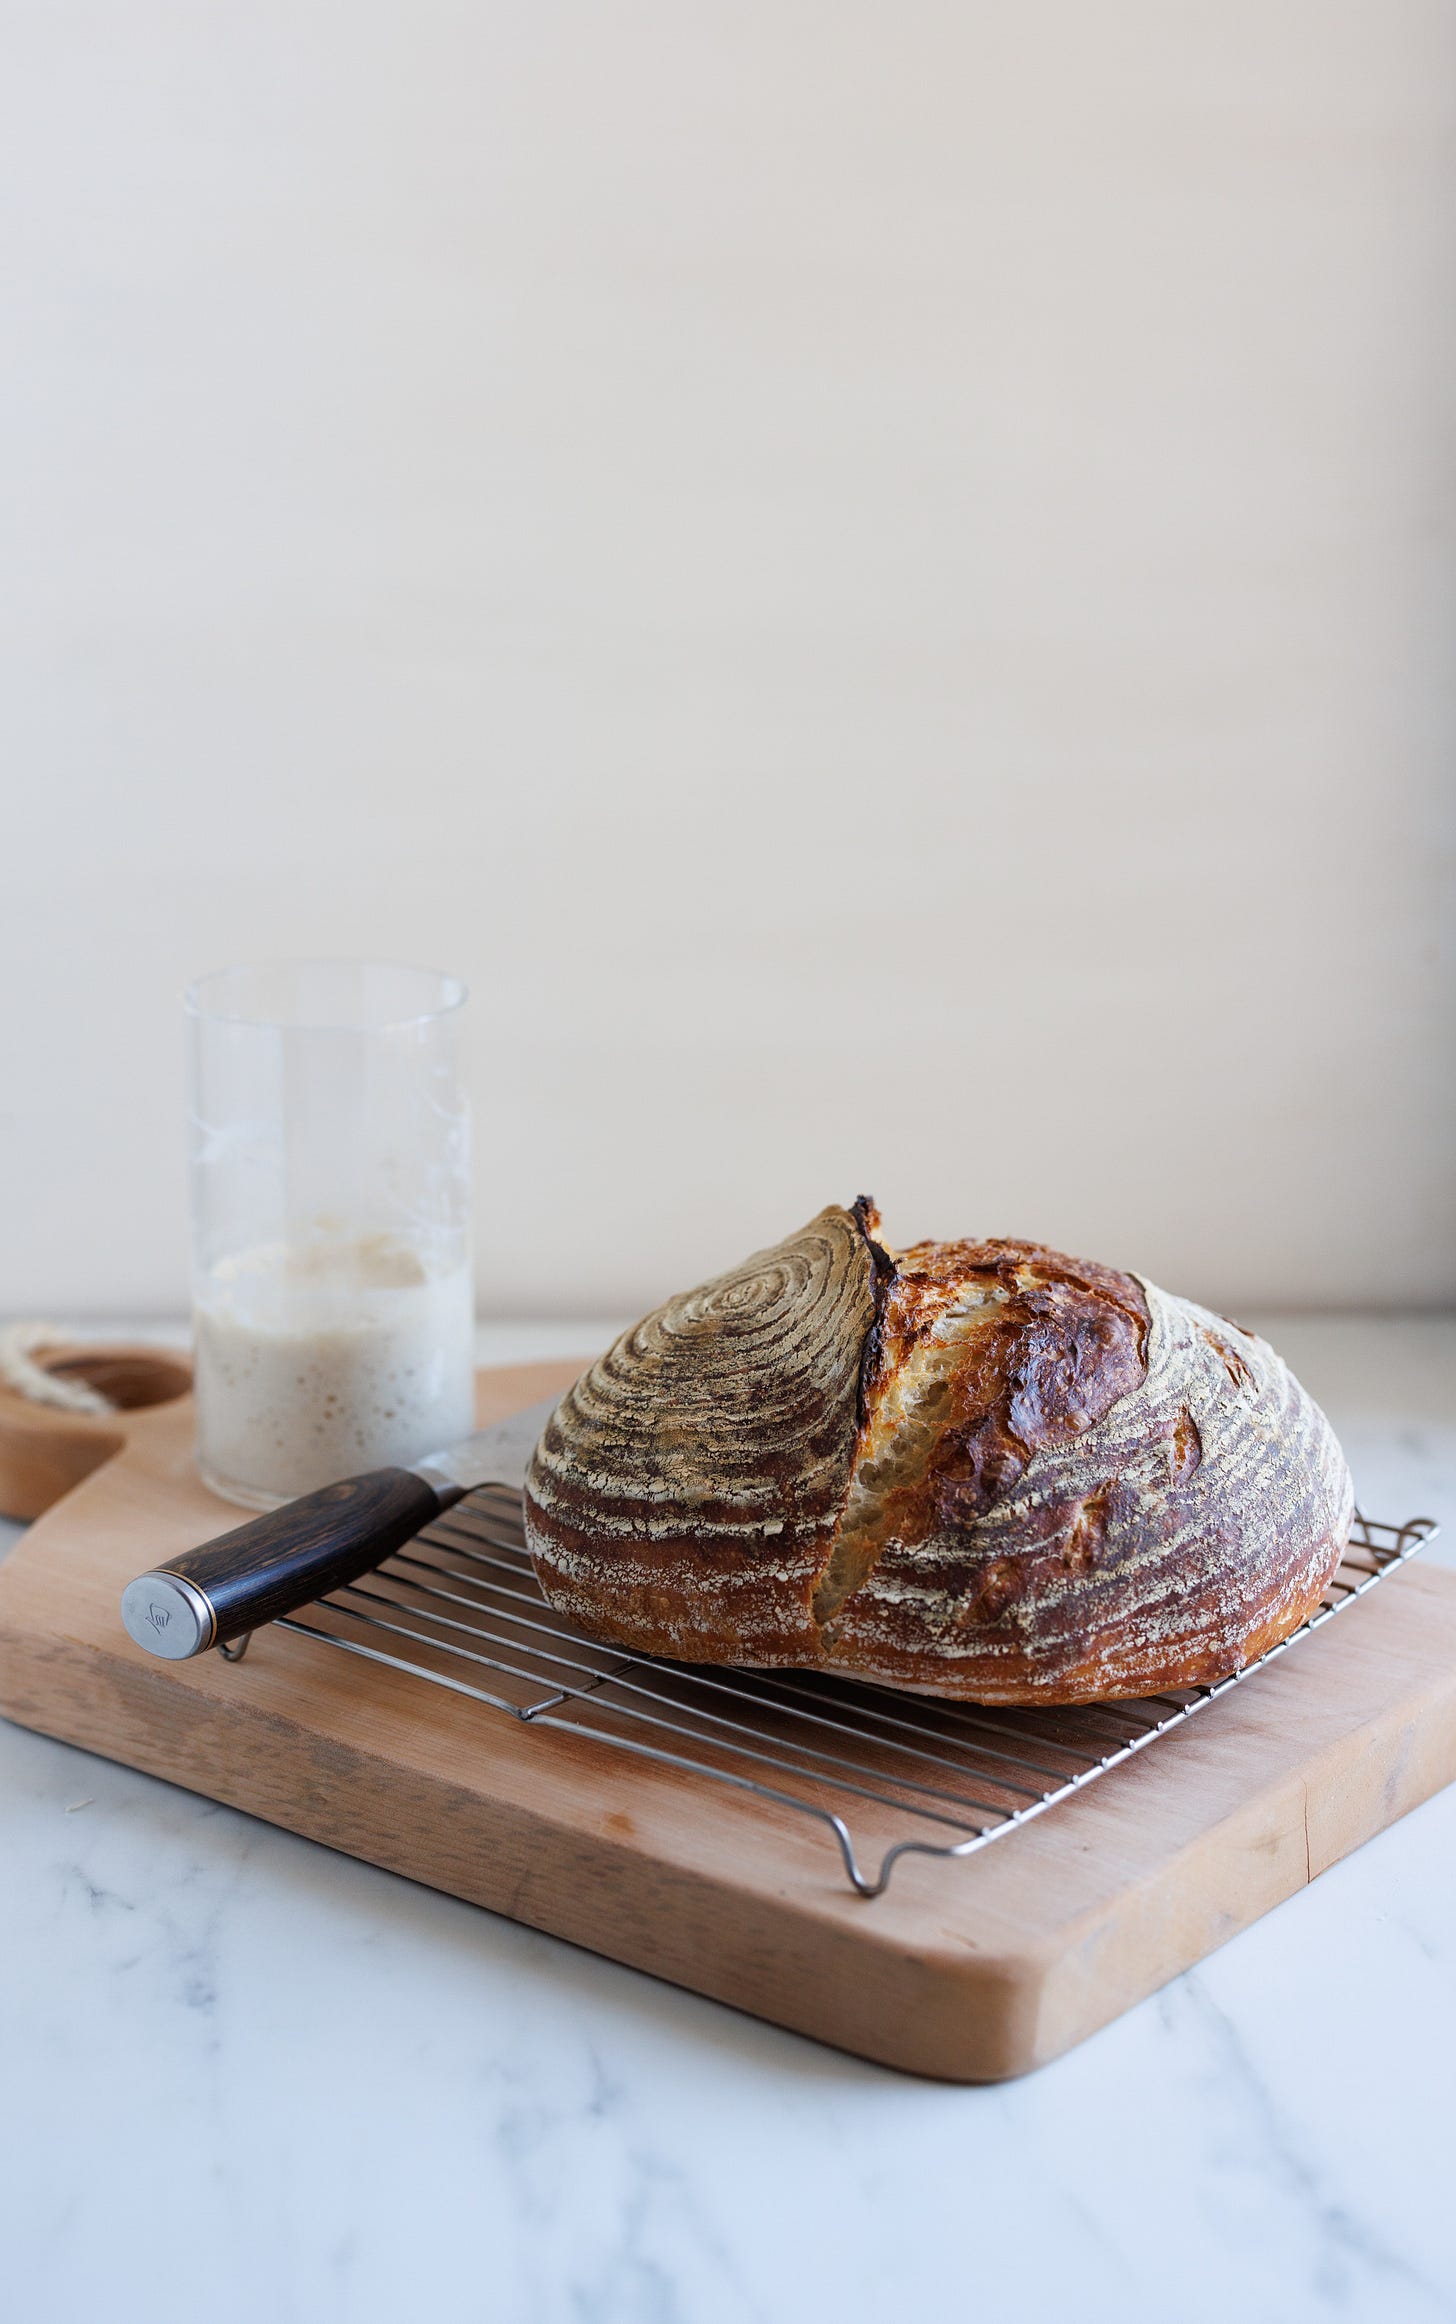
I make a loaf of this sourdough bread at least once a week, if not more. It’s my go-to loaf and for whatever reason I have never shared it before. I’ve had the same sourdough starter for decades and keep it alive or dry it to store it in my cabinet if I can’t bake weekly. My point is, that it’s a delicious, fun, and very doable routine, once you know the tricks of it. This recipe is pretty basic and may lack some of the more nuanced details of recipes from master craftspeople, but I get a great loaf with minimal effort and my family loves it. Consider this a gateway sourdough bread, which may lead to a geeky future of bread baking.
The one thing you can’t skimp on with sourdough is the time. This loaf takes 24 hours to mix, rest, and bake. It’s probably only an hour of hands-on time (you’ll get faster the more you do it), but there is a lot of waiting for the sourdough to work its magic. Using a sourdough starter instead of commercial yeast just takes longer to rise. We also want to make sure to give the loaf plenty of time for fermentation, which is where the flavor comes from, it also improves the large hole structure in the crumb and improves the crust quality. So, this is not a recipe to try if you’re in a rush. It’s also one that takes some time to get used to, just like riding a bike.
For this challenge, you will need a thriving sourdough starter, which can take a week or two to develop. In my “Sourdough Starter recipe” (below) I will walk you through that method as well. You’ll get to know your starter and even give it a name. The one I developed for this challenge is called “Frazzy Bringle” which was my nickname as a child. I was a wild kid and this starter is too! ;)
If you have a Starter already active, you’re set to go. Have fun, I can’t wait to see your bakes!
Tips, Tricks & FAQs
Mixing: When mixing the dough, a Danish dough whisk and a plastic dough scraper are not required, but make the process so much easier. See the full equipment list below.
Resting: As the dough rests, you’ll need to cover it with a damp towel. During the 8-12 hours on the counter, check the towel frequently to make sure it is still damp. Covering the bowl and towel with a plastic cutting board can help keep the towel from drying out.
When it’s time for an overnight rise in the fridge, you’ll need to use a brotform or banneton to help the dough keep its shape. Be sure to liberally flour it or your dough will stick and it’s no fun to try and pry the dough from the basket. I use a tea ball that I’ve designated for this task to help make it easier. See the video for how I do this.
As I mentioned, your dough will rise in the fridge for 8-12 hours. This slow, chilled rise will help the loaf develop more flavor. Allowing the dough to set at room temperature would go faster but your finished bread won’t be as good, so don’t rush it.
Scoring: if you don’t cut the dough at all or not deep enough it will crack open in any way it can. The scoring is pretty but also helps the dough rise by giving the dough somewhere to go. Don’t skip this step! You can use a sharp, serrated knife, a bread lame, or a razor blade.
Baking: baking in a vessel with a lid traps the steam coming from the moisture in the dough. This steam helps the loaf to rise and gives the bread a shiny crust. Some people add ice cubes when baking in a closed vessel, but it’s not necessary. All the moisture needed is right there inside your dough!
Cooling: I know it’s difficult, but it is imperative that you allow the loaf to cool completely before cutting into it. Cooling is actually part of the baking process, so as tempting as it is, try to be patient!
Refreshing stale bread: Quickly run the loaf under water (temperature doesn’t seem to matter) and then bake the loaf at 400°F for about 10 minutes. This works really well after a couple of days, but it has limits, so don’t expect a miracle with a week-old loaf.
Equipment
*The links below are affiliate links.
Kitchen Scale: You need a scale to make bread recipes properly! This one is my favorite.
Danish Dough Whisk & Dough Scraper: makes the mixing and folding so much easier.
Tea ball: I have one designated just for flouring my proofing basket (banneton or brotform).
Banneton: Bread-proofing basket for shaping the bread in both recipes.
Bread lame: Scoring tool. You can also use a sharp, serrated knife or a razor blade.
Baking Vessels:
Cast iron cloche: Heavy duty, will never break. Produces a gorgeous dark crust. Only used for bread.
Dutch oven: This does double duty as a stew pot, so it’s multi-purpose. It is harder to get the loaf in and out but using parchment paper as a sling will help.
Ceramic cloche: lighter weight, easier to lift in and out of the oven. Only used for bread.
Bread knife: when you bake beautiful bread, you need a great knife to cut it!


